How Set up Additional Charge
Click on the “New” button.

This opens up a drawer containing required fields to be updated before an additional charge is created, this includes;
Charge name: This is the title of the charge, what the charge would be called, which will be shown to customers on the receipt.
Type: This is where to choose the nature of the charge. Charges can either be fixed, that is a fixed value is charged on specified orders. Percent, that is a certain percentage is charged on specified orders. Select which type of charge is being created from the dropdown.

Value: When creating an additional charge, vendors should note that any charge that comes as a Tax charge, would be valued in percentages while other charges are a fixed value.
Tax charge: The ‘Tax Charge’ check box is used to indicate if a charge is a tax. For taxes, the rate is charged per item and not on the total value. Taxes are also charged on all menu items except those marked as non taxable (Exclude from tax). When a tax or charge is included in the total price, this is indicated in the printed receipt.

Include in item price: The ‘Included in Item Price’ checkbox allows the vendor to indicate if a charge is included in the price of the item. When selected, the tax sum is not added to the total cost, rather it is displayed for the customer to see that tax has been included. The charge value is calculated and shown in reports.

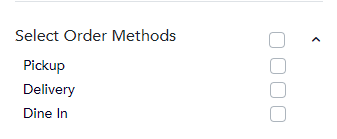
Select Order Method: This is where the vendor selects the order method the tax or charge created is applicable. Depending on the order method enabled by the vendor for the restaurant, the list of enabled order methods is displayed here for the vendor to select which order methods the tax or charge created would be applied.

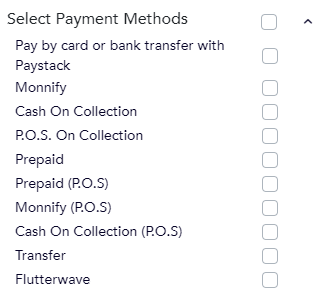
Select payment method: The payment method enabled by the vendor for the microsite and pos would be listed here. The vendor would select payment methods that taxes or charges being created would be applied.
Save charge: Clicking on this button saves the charge created.

Related Articles
How to Generate Tax and Charges Report
This report page puts together all the charges and taxes charged on every transaction within the specified period of time. For a single transaction with multiple charges, each charge is displayed in a separate row. The table has a filter for the ...How to See Ordered Items from Customers
Sample of a Order To see the items ordered by customer, click on the order number and a sidebar will appear. What are the Items on an Order From the sidebar above , you will be able to see the following information about the order; Quantity of each ...How to Set Different Prices for your Sales Channels
To setup channel pricing and visibility for a menu item, follow these steps: Click on the Menu item This opens up a drawer containing the details of the menu item In the drawer click on the “ Edit channel pricing and visibility” button This pops up a ...How to Setup a Delivery Area
What is a Delivery Area? Delivery Areas allows vendors be more specific with their delivery charges using the map. Using the map, a restaurant can draw a circle or lines to indicate the areas they service and set a price for each delivery area. There ...Creating a New Menu Item
Creating a New Menu Item The steps to take in other to create a new menu item includes the following; Click on the “Add New” button on the menu page Clicking on the “Add New” button opens up a drawer containing fields to be updated with the menu ...